Ok so this little project all started off with a visit from my cousins. Please allow me an introduction: Brianne – (one of my cousins from the visit) just moved into a new home that my grandfather has completely built for her by himself from the foundation up over the last few years. I know, WOW Right. (I had to brag on him a little!!) So, now that all the work is done and she has FINALLY moved in she gets to have a little fun and start decorating. Of course she is on a very tight budget so everything she loves usually gets put off until another day. Well there were two such things she saw she wanted on our trip to Galveston. She pulled me hard by the sleeve and said “come here” in a hushed voice. I obeyed and she led me over to the corner of one of the shops we were browsing in. She said (in the same hushed voice) “do you think you could do that for me?” and pointed to a cute overstuffed corner of home goods. I stared at all the little things and said “What?” in my regular voice. I was pretty sure no one was around or even cared at what scheme she had planned to whisper in secrecy to me. First she pointed out a white painted sign on old driftwood that had HOME across the front in dark blue letters. Very cute – $150.00 dollars – NO WAY! Next she pointed to a burlap picture a little small things mounted with brads with a flure de leise in the middle. $55.00 – cute but still… NO WAY. So I inspected the items and gave a solid “Yes, I can do that”. I’m so glad that they have faith in my abilities because I would never have picked these projects on my own.
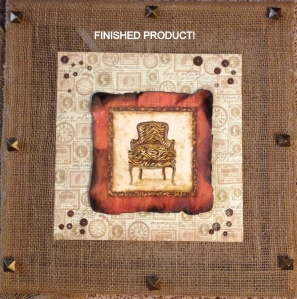
The first is the burlap picture and here are the instructions on how to make your own for cheap. Something also very awesome about this is if you need to know how to build a picture frame just use the first step shown here. If you want to do it faster then you don’t have to build your own frame just use an old one.
WHAT YOU NEED:
a piece of scrap wood, wood glue, mounting glue, hot glue gun, a 45 degree cutter box, burlap, fabric pins, scrapbook paper, and a picture for the middle -
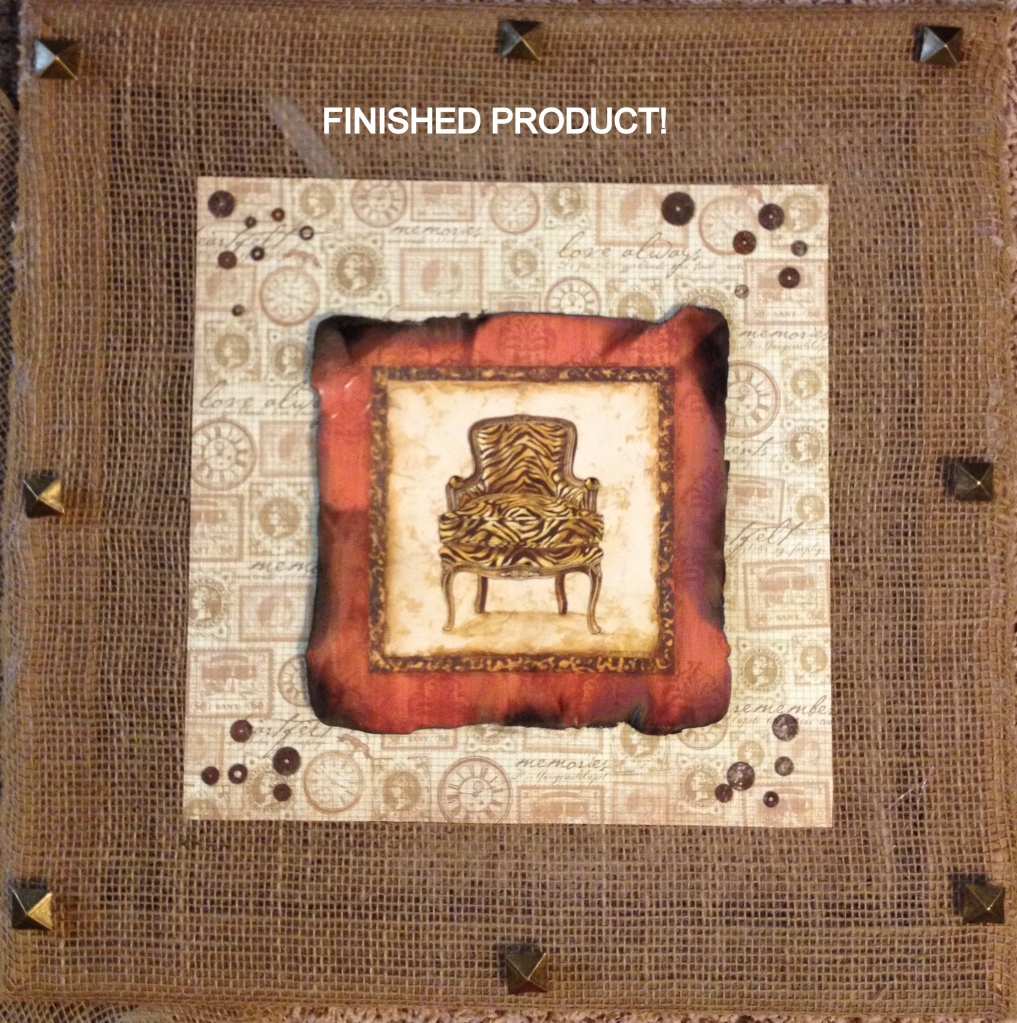
A note about the picture for the middle: I used a $5.00 Dollar Store picture I found and took it out of the frame and burned the edges to make it look old, you could use a photograph or anything!
PART ONE: TO BUILD THE FRAME:
Step 1. MEASURE: Take a long scrap piece of wood and measure it out in 45 degree angles. Let me explain what I did. I used the saw box to score the wood on one end and then measure and scored it on the next end. You need four pieces so I did it four times down the board, for visual people like me this is what the cuts look like.
\__________/\___________/\___________/\__________/
\__________/\___________/\___________/\__________/
cut them like that and they will magically come together in a square.
Step 2: CUT: So to save time I scored the wood with the saw box drew lines all down the wood with a pencil just like the picture above and then cut them all out at one time with Skill saw.
Step 3: Glue these little babies will all just fit together and make a frame. Glue them and set them to dry.
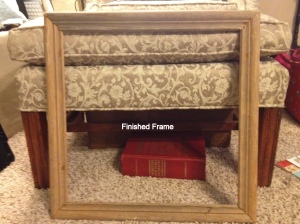

Part one is done!
PART TWO: HOT GLUE THE BURLAP TO THE FRAME
Step 1: PLUG the glue gun in!
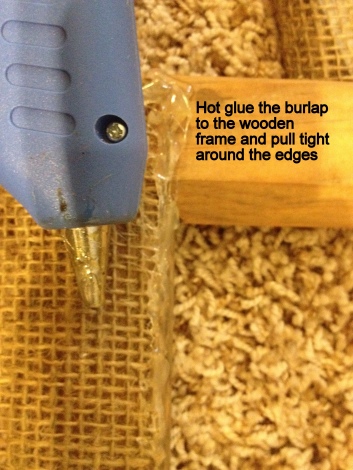
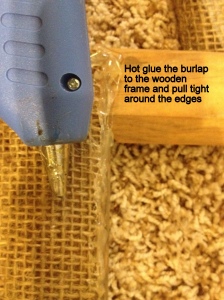
Step 2: GLUE the top row of butlap to the back of the frame so its hidden.
just keep pulling it tight and gluing it.
just keep pulling it tight and gluing it.
Part Two is done
PART THREE: MOUNT THE PRETTY STUFF
Step 1: Use your spray glue adhesive and tack on a piece of scrapbook paper to the middle. Let dry. Try to center it nice and pretty.
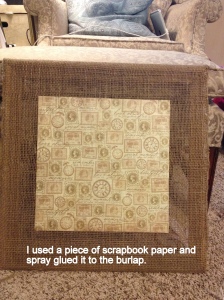

Step 2: Take your picture for the center and mount it to the center of the scrapbook paper. I had to use a little spray adhesive and some hot glue for the edges. I also burned mine around the edges to make it look a little less “DOLLAR STORE”. I did it over a pan of water and was very careful not to burn my house down.







Awesome!!!! I can't wait to see it in person!
ReplyDelete